
-

Bobby Berk's knife sharpener is going viral — here’s why it deserves a spot in your kitchen cabinet
-
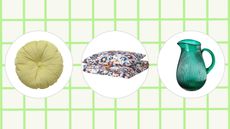
The IKEA spring sale is underway with up to 50% off — here are the deals you don't want to miss
-
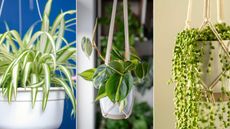
Best hanging basket houseplants — 10 leafy options for maximizing vertical space
-
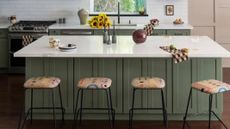
These 8 small kitchen island color ideas will transform even the tiniest hubs
-
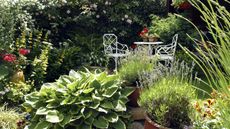
What is chaos gardening? The experimental "learning by doing" method only takes four steps in small yards
-

The 7 outdated 2000s interior design trends experts say are making a comeback in 2024


Buying Guides

-

6 of the best citrus juicers tried and tested
"Concentrate" on these best citrus juicers including manual and electric models
-

The 9 best vacuum cleaners to buy in 2024 — robot, cordless, handheld, and more
Our pick of the best vacuum cleaners tried and tested by the Real Homes team
-
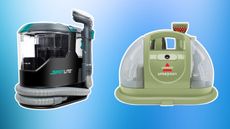
6 of the best carpet cleaners — our favorite machines from under $110
The best carpet cleaners are a life-saver for pet owners
-
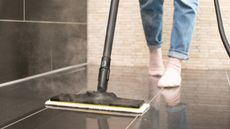
The 6 best steam mops and cleaners to buy, as ranked by our reviews and shoppers
Use the best steam mops to sanitize your home using just hot water
-

10 of the best cordless vacuums — tried and tested
Make cleaning easy with the best cordless vacuums our team of cleaning pros have tried


The How

-

Where to plant hydrangeas in your garden to enjoy their "lovely display and pops of color"
Learn where to plant hydrangeas so these flowering plants thrive
-

The 10 best indoor flowering houseplants to bring natural beauty to your space — including ones that blooms for months
Plus expert advice on how to care for them


Design Ideas

-
I've just found these gorgeous apartment kitchen ideas, and I'm officially obsessed
Hot stuff
-

Hang on — decorating white walls just got interesting
White walls don’t have to be boring
-
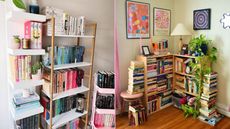
8 living room bookshelf ideas that are perfect for small spaces
Read all about it
-

Genius studio apartment ideas for even the tiniest places
Start decorating, bb
-
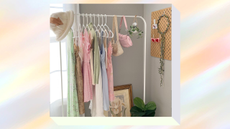
How to make a clothing rack look good with 7 simple techniques
Rack city, bish
-

How to choose a color scheme for an apartment — even if you can't paint
To make yourself feel right at home


Meet The Team


House Tours

-

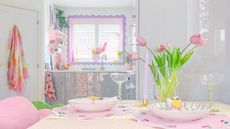
This interior decorator's color-drenched apartment will make you want to throw anything gray out the window
Your permission slip to go bright
-

Dramatic decor and a fabulous outdoor kitchen make this the perfect party home — inside and out
Rosie and Innes extended outwards and upwards to create the bright, airy, and sociable home of their dreams

